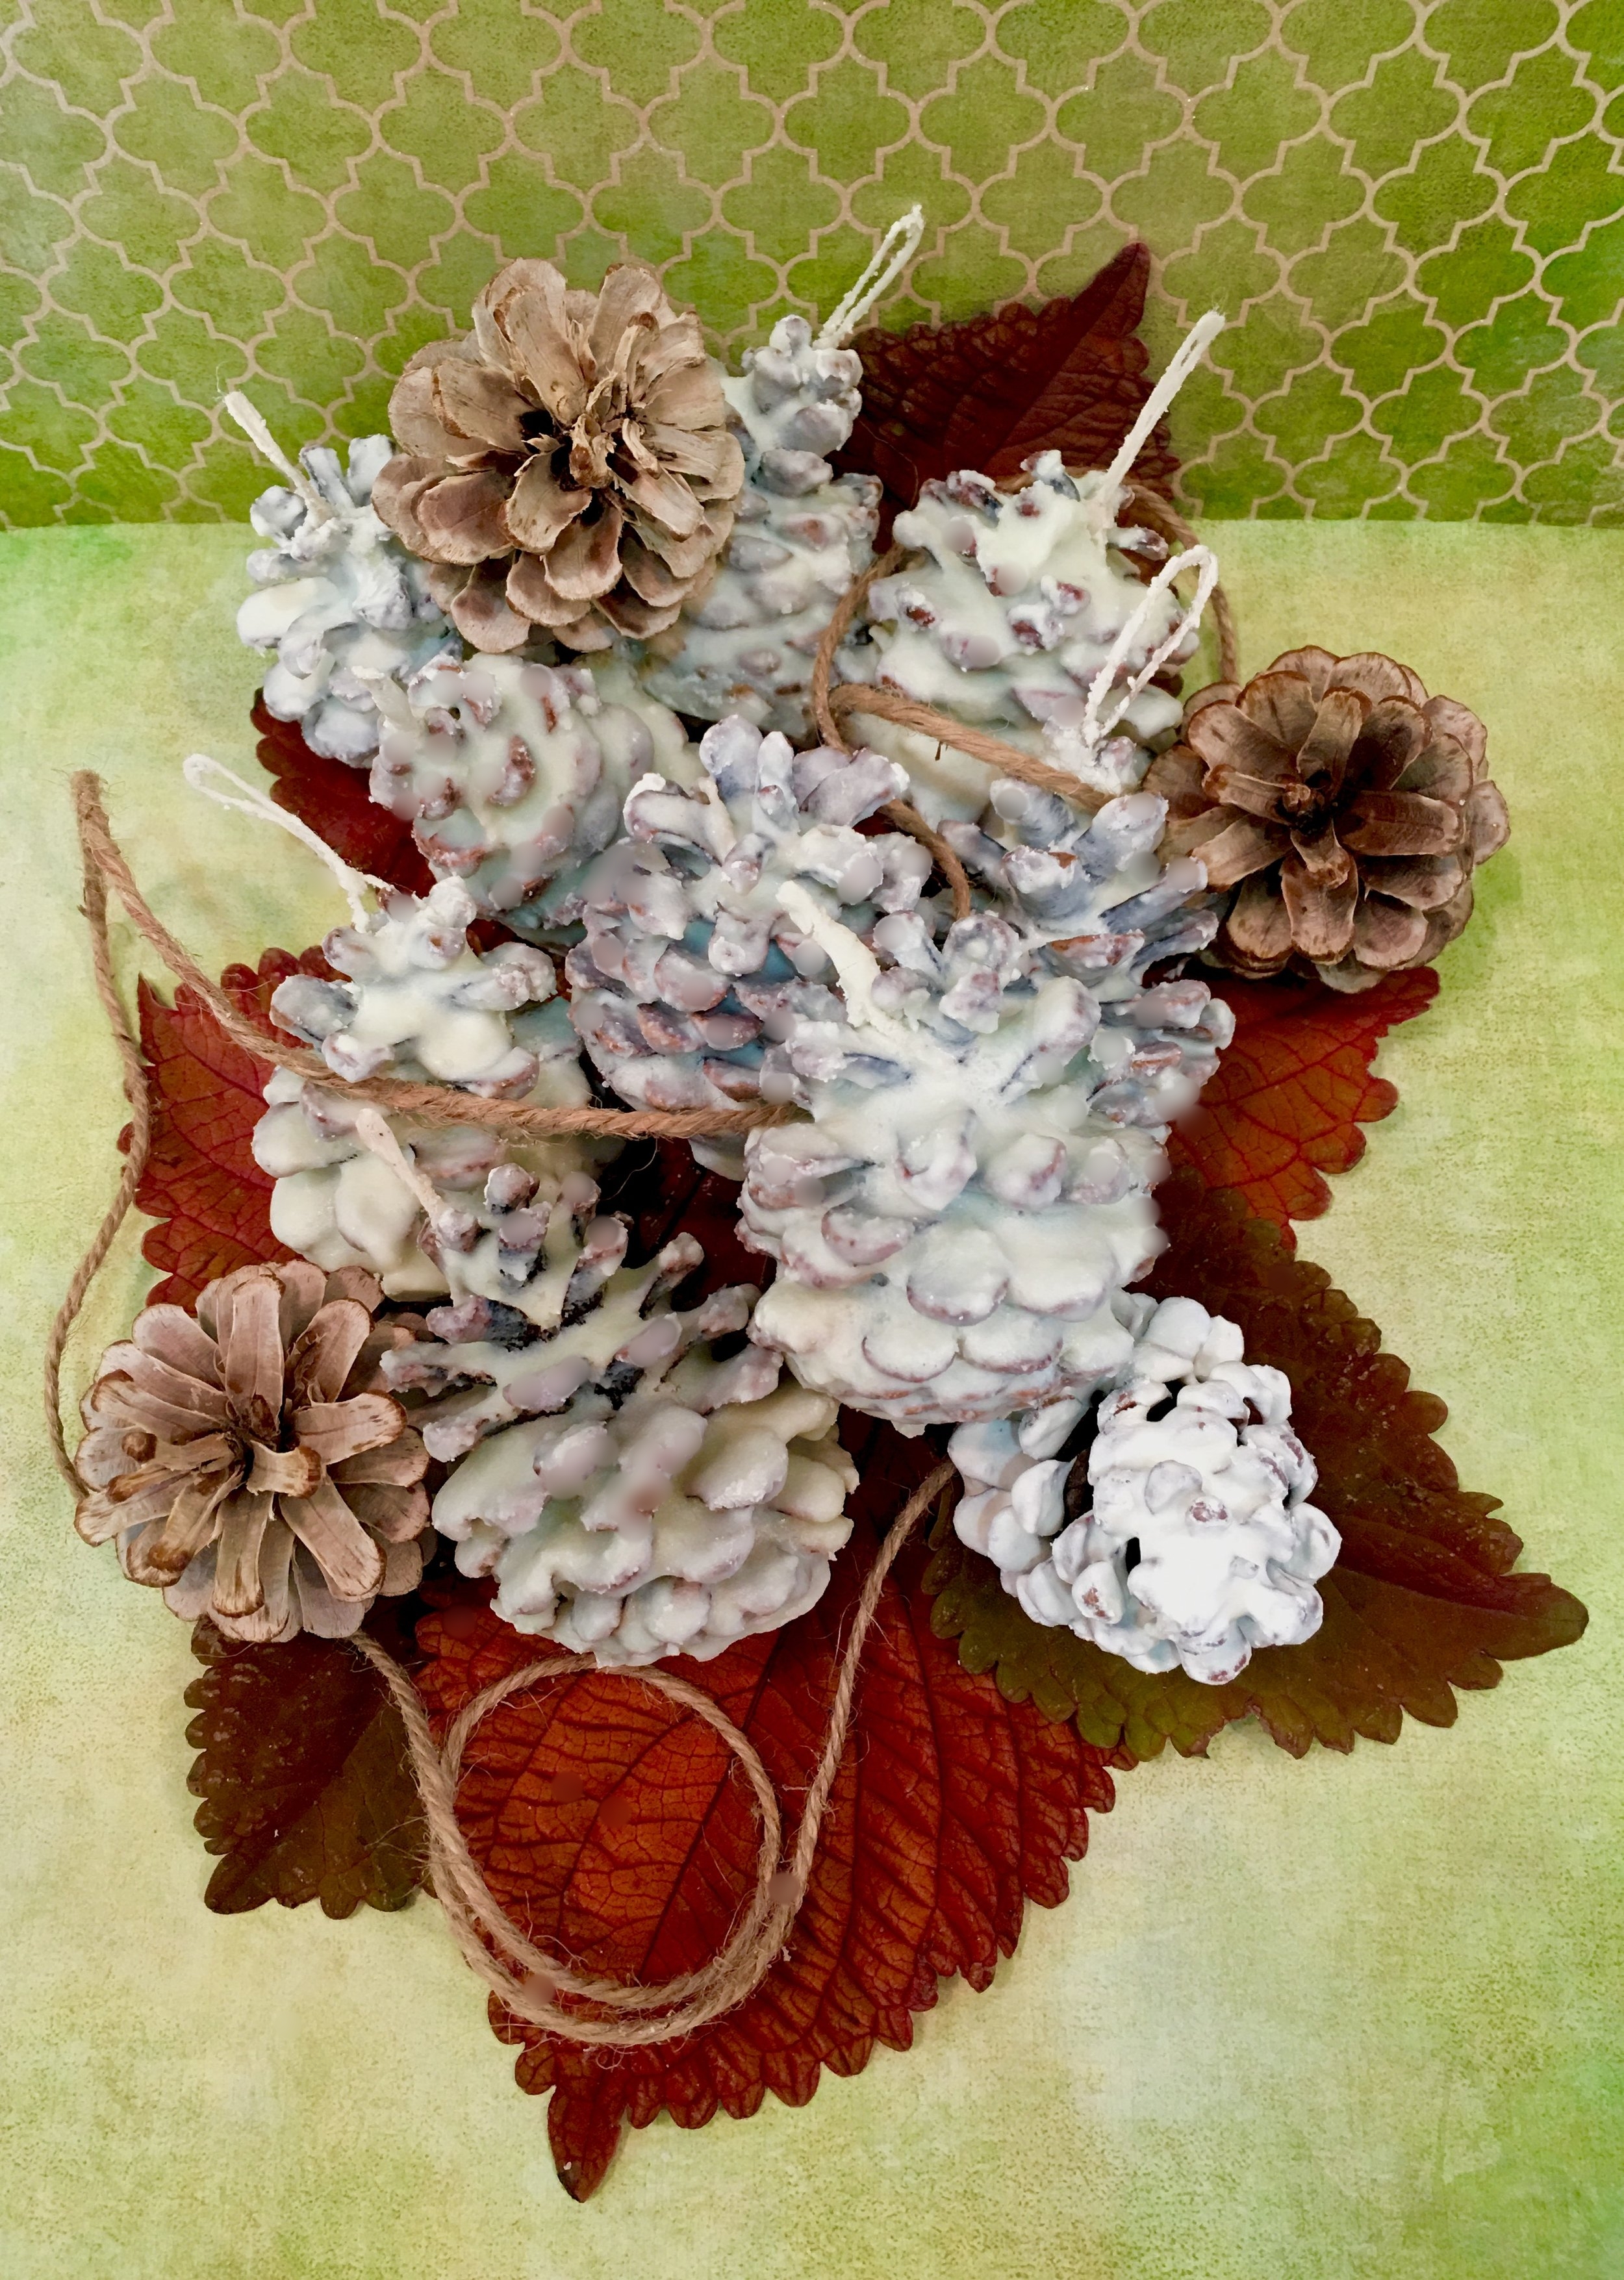
It's raining outside and the amazing fall colors are dripping wet and smell earthy and inviting. This is the season I think of when I smell cinnamon, pine and cookie dough baking in the oven. The days are shorter and the need to care for the garden reduces down to a minimum and for me that leaves more time to think about handmade gifts and holiday decor. I recently learned how to bleach pine cones, which was so simple, yet produced these rustic yet modern looking woodsy pine cones (my next blog post instructions). While making the bleached pine cones I gathered a few bags for other projects and fell in love with this simple technique of scented wax-dipped pinecone fire starters.
#1 - Bake the pinecones to rid them of bugs
First thing is to rid the pine cones of unwanted sap, bugs and wiggles. (Something that should always be done when outdoor, natural products to be used indoors.) This is accomplished by either baking a tray of natural elements like bark, pinecones, acorns or dried materials or freezing them in a plastic bag for 24 hours.

Bleached and non-bleached pinecones getting baked to kill any bugs or wiggles. ;)

Oven technique: Warm the oven to 350° and place a foil covered cooking sheet covered with the cones in the oven for 10 minutes. Remove and turn to redistribute the cones and place them back into the oven for 10 more minutes. Don’t leave the kitchen-it gets hot in there with those pinecones and it makes the house smell wonderful. Note: If the pinecones are larger, bake only one layer at a time.
Cut 14" lengths for smaller cones measuring about around 4" tall. Fold the cotton cord in half and make a overhand knot. Place the knotted end at the top of the pinecone and wrap the two ends individually around the pine cone and tuck in the ends (the wax will hold them in place).
DIPPING TIPS
Dip the pinecone in the warm wax to create the first layer.
Remove the wax from heat a start to let cool.
If you dip the pinecones while the wax is too hot it takes a long time to build up the layers
If you dip too cold you can get lumps in your wax and uneven areas
If your wax gets too hard, remelt itAllow the dipped cone to strain off as much as you can
Let your pinecones dry for at least 15 minutes in between each dip
Use a wooden spoon to help you immerse the pinecones
Let them dry on waxed paper or foil
Dip each pinecone 2-4 timesIf the wax on your pinecone looks dull, it means it was dipped in cool wax
To get a shinny look on your last coat, use hotter wax
#2 - Gather your supplies.
Soy wax flakes - or paraffin wax (Health Aspects Of Soy Vs Paraffin)
crayons or candle coloring
Pinecones (freed of bugs)
Scented essential oil - There are so many to choose from but I used Wintergreen or you could use Candle fragrance oil.
Wired candle wicking or cotton string
Wooden spoon
Large heat proof container
Heat
Wax paper
Scissors
Cute tags and twine
I used my encaustic wax melting setup to melt several colors at once - it contains a aluminum heating top with a electric heating element underneath.
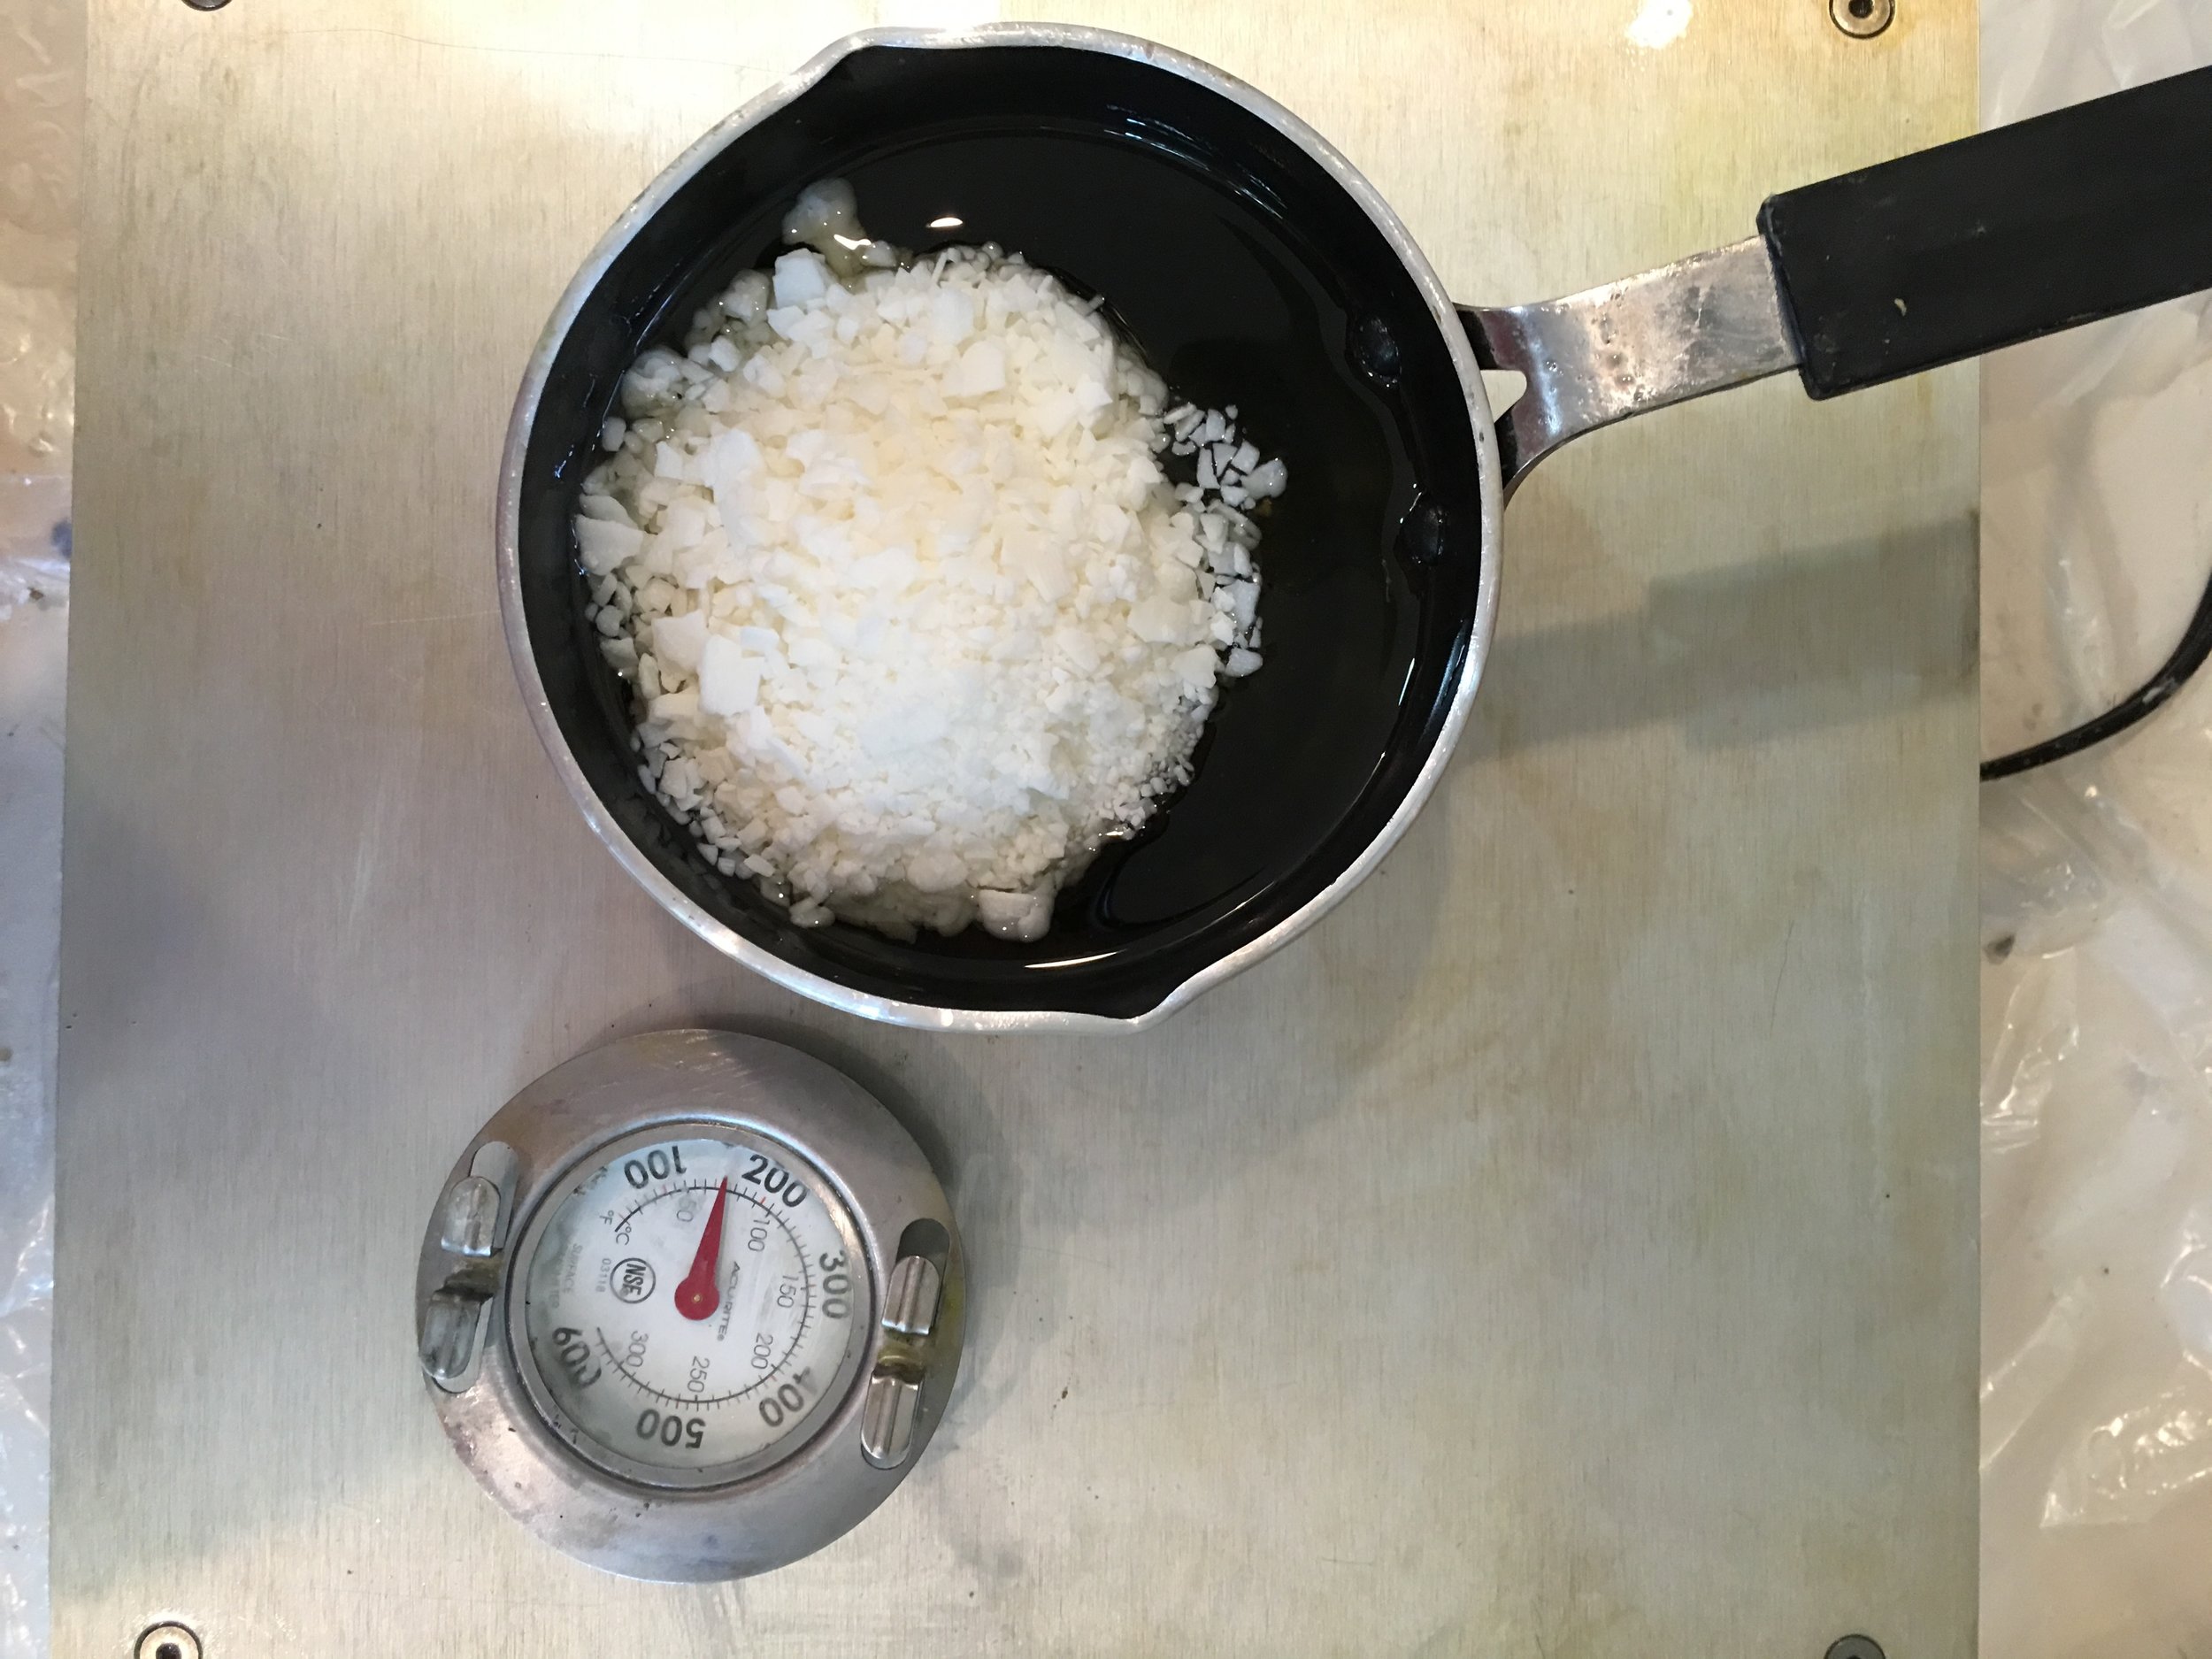
The double boiler method: Over medium heat using a thermometer heat the soy wax to around 180°, stirring with a wooden spoon. (don't reuse these tools for preparing food). After the wax is melted drop 4 to 6 drops of scented oil into the mix and stir. Add the crayon or wax color block to color the wax. I used about 10 drops of yellow and 2 drops of blue to make green. Start with the lightest color first and go slow. You can't lighten the color after it's too dark. Using crayons stick with one color and use one of two. You can remove the paper wrapping on the crayons by soaking in warm water for about 30 to 40 minutes. Then break them up as you add them to the melted soy wax.

There is microwaveable soy wax available with instruction on how to melt in your microwave.
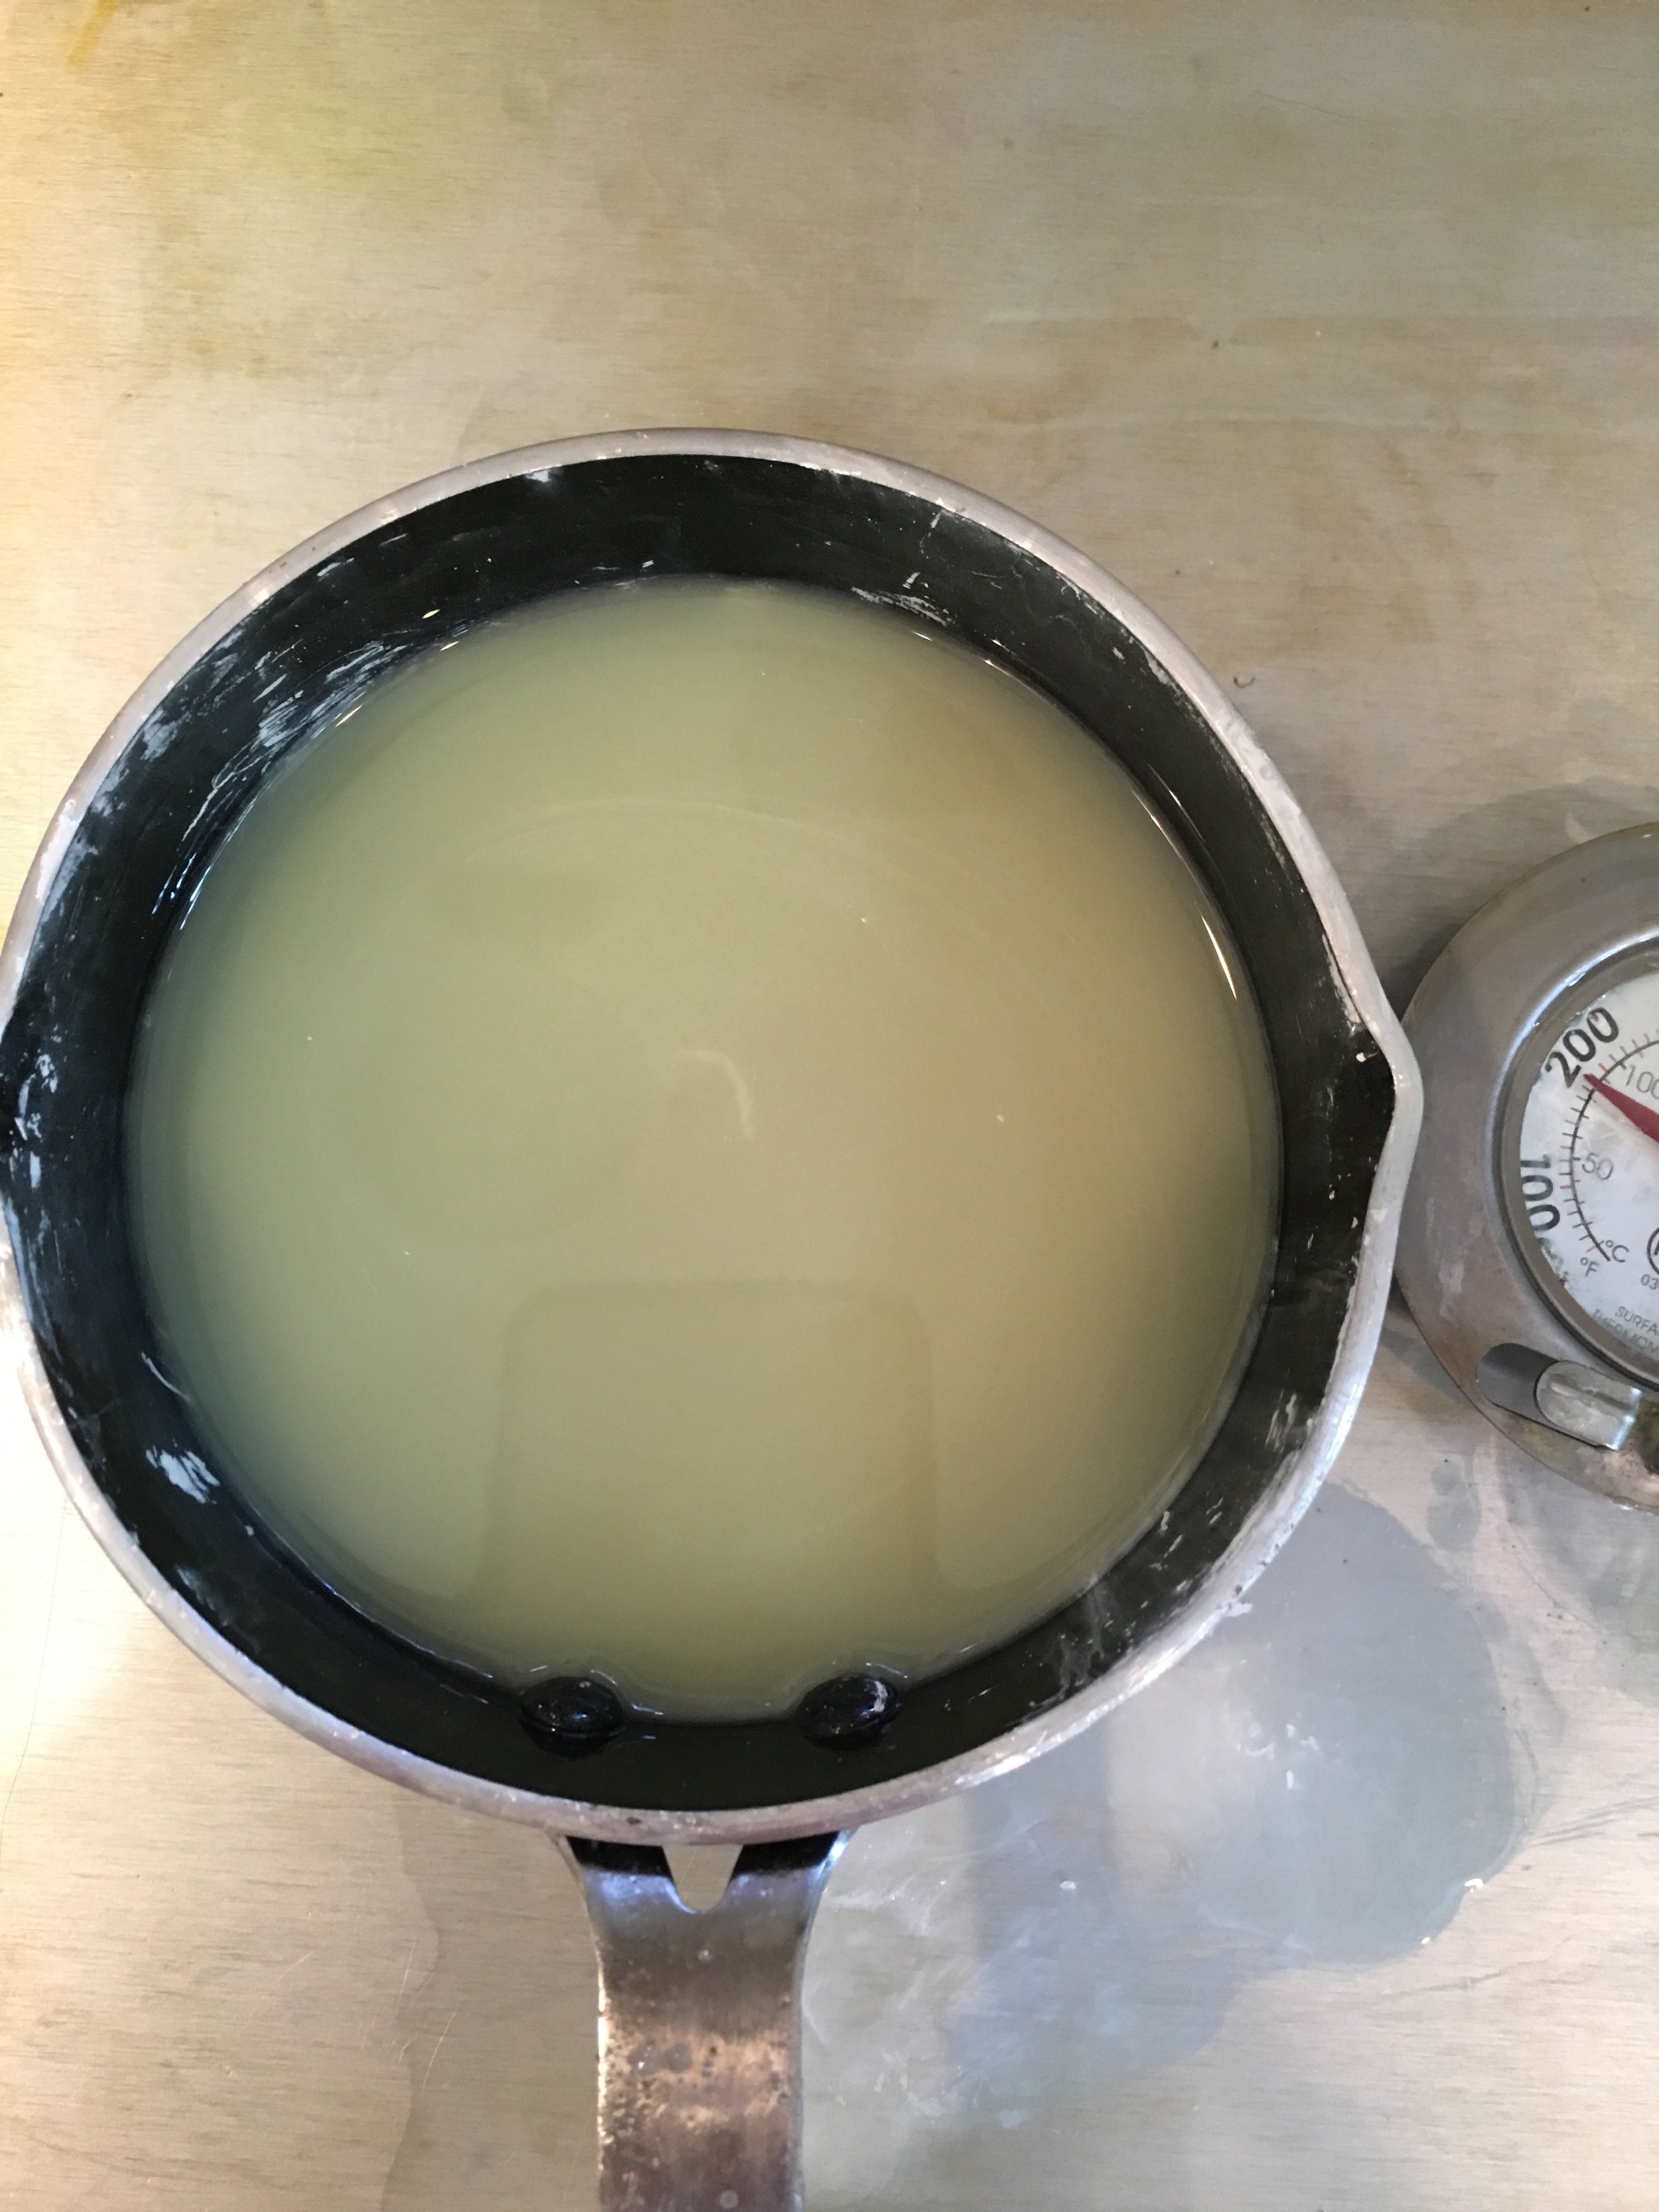
Yellow and blue to make a pale green - more blue will darken the color. Go slow adding the liquid blue until you've achieved the green color you're looking for when using wax candle color dye.
#3 - Make the candle wick and wrap the pinecones

cotton cording

Pinecone wrapped with wick cording.